Microsoft SQL Server
Demo
NOTE: Demo uses a legacy version of Petti and may not reflect the current UI.
Compatibility
SQL Server Compatibility
| Version | Support |
|---|---|
| SQL Server 2017 | ✔ |
| SQL Server 2019 | ✔ |
| SQL Server 2022 | ✔ |
Supports Web, Standard, Express, & Enterprise editions.
Operating System Compatibility
- Supports Windows Server 2016 & above.
- Supports Windows 10 & above.
- Supports x86, x64, & AMD64 architectures.
Supported Recovery Models
Supports Full, Bulk-Logged, & Simple recovery models depending on the backup type.
| Backup | Support |
|---|---|
| Full | ✔ |
| Differential | ✔ |
| Transaction Log | ✔ |
| Full (Copy Only) | ✔ |
Adding a Server
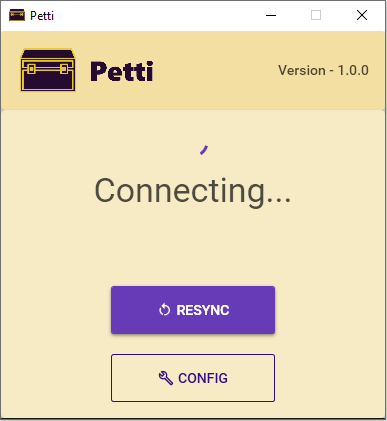
The first and foremost step involves adding a server. In the platform selection, select Microsoft SQL Server 2019 or Microsoft SQL Server 2022 depending on your server version.
Setting up the Backup Client
-
Sign in to Petti's Dashboard.
-
Navigate to the Downloads on the website and download the latest x86 client for Windows.
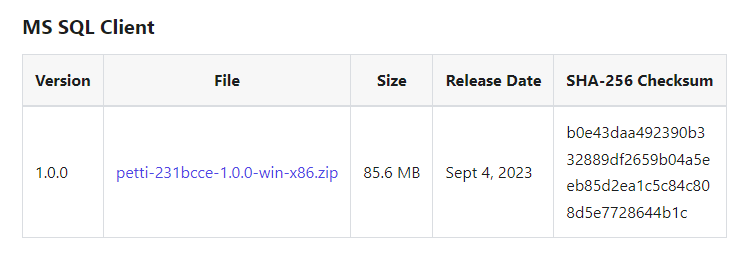
- Extract the package to a directory of your convenience and run the setup.cmd file.
- During installation, enter the password of the current logged-in user when prompted.
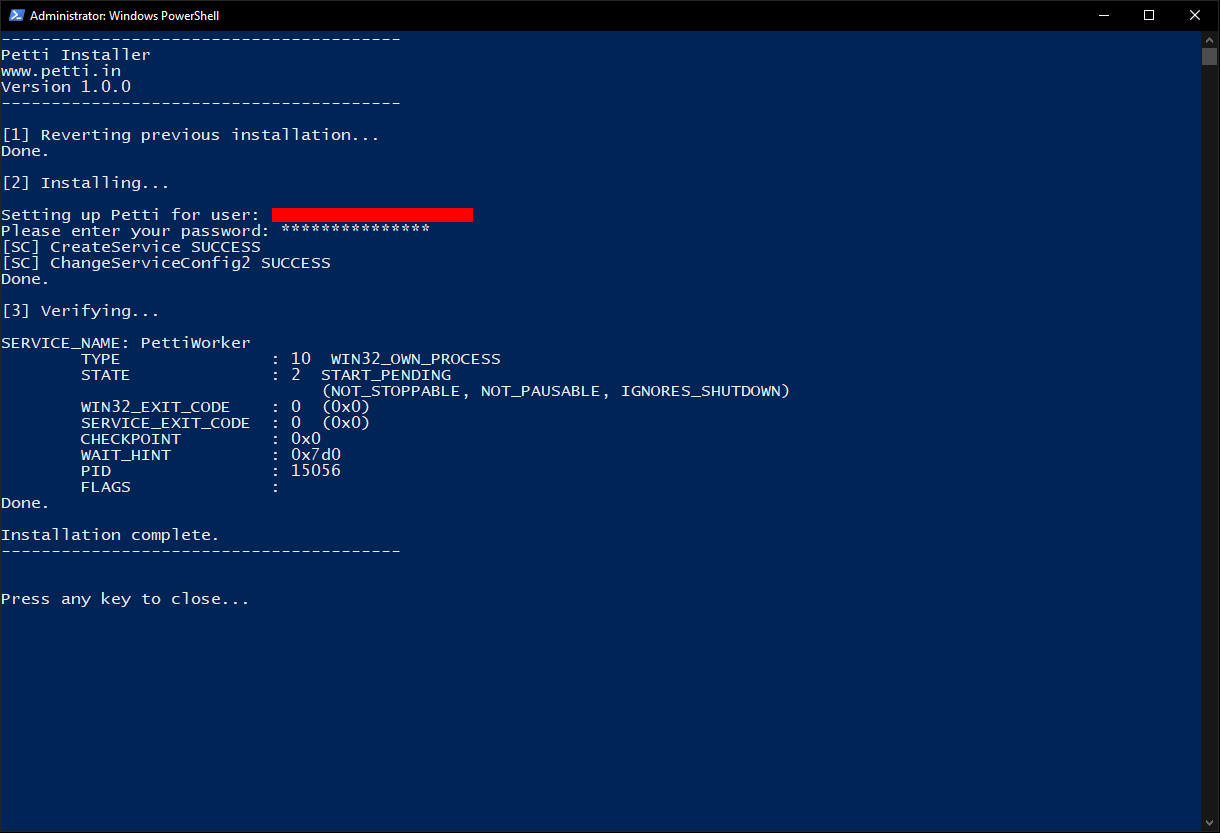
- You will see a similar output when the installation is successful.
- Securely transfer a copy of your Saavi file to your server.
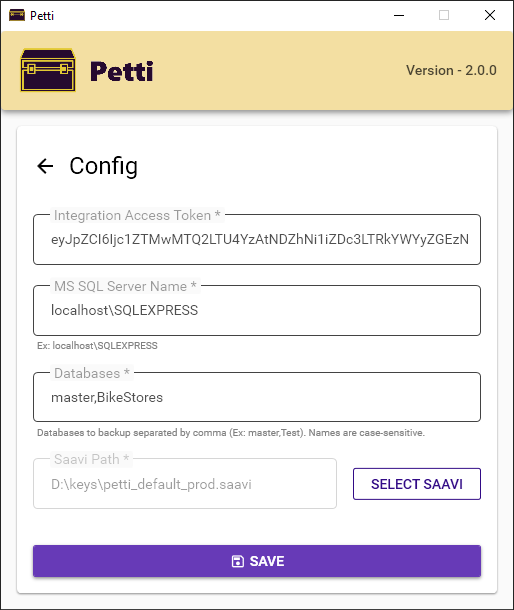
- Open Petti.exe to launch the application and click on the Config button to set the configuration.
- Integration Token: You can copy & paste the token from the created backup in your dashboard.
- Databases: The name(s) of the database(s) to be backed up, separated by commas. Names are case-sensitive. You can also specify a single database name.
- Saavi: Select your Saavi file on the server if required.
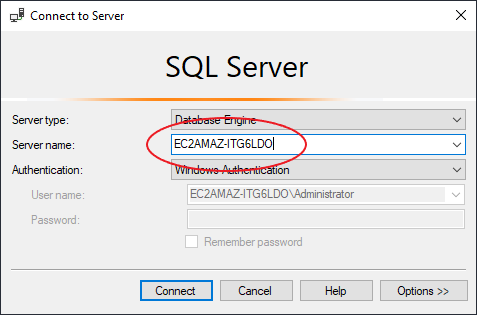
- MS SQL Server Name: Name of your SQL Server for Windows Authentication. If you have a single SQL Server
installed, it is most likely
localhost.
Finding SQL Server Name via SSMS: If you don't know the correct name, you can find it by opening SQL Server Management Studio. Copy the Server name from the Connect to Server window.
- Save the configuration. It will automatically reconnect in a few seconds. If not, please wait 30 seconds and click the Resync button.
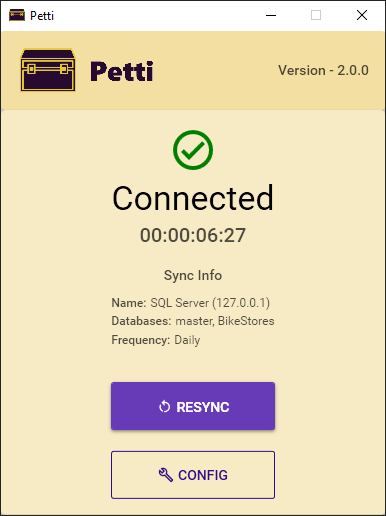
- If there are no issues, you should see a "Connected" indicator followed by stats.
Verifying connection from the dashboard
Get back to the dashboard to see if the created backup is online. It might take a minute or two depending on various factors. Kindly be patient. Integration is complete when the backup is online in the dashboard. In a couple of minutes, you should see your first snapshot.

If you encounter any challenges with the aforementioned steps, please do not hesitate to reach out to us for assistance.
Known Limitations
- Only Windows authentication is supported. If you require support for other authentication methods, kindly contact us by email ([email protected]) stating your requirements.
- Snapshot sizes greater than 1,048,576,000,000 bytes (~ 976 GiB) are not supported.